This no-bake chocolate cheesecake is my go-to when I get caught off guard by unexpected guests or a sudden craving. It’s honestly the dessert I turn to when I want something rich, creamy, and impressive without the fuss of baking or waiting around. The best part? It’s all assembled in one bowl and chilled until set, so I can focus on chatting instead of stressing in the kitchen.
I stumbled onto this recipe during a hectic holiday season, and it’s stuck around ever since. There’s something about the simplicity—crushed cookies, melted chocolate, and cream—that feels like a little indulgent secret. It’s perfect for those moments when you need a dessert that looks fancy but is really just a few ingredients and a bit of patience in the fridge.
This recipe is a secret weapon for last-minute gatherings, offering a rich dessert with minimal fuss—perfect for when you forgot to prep or need something impressive fast.
The Unexpected Joy of No-Bake
- This dessert came to life during a chaotic dinner party, and I realized how a simple no-bake could save the day.
- I love how this cheesecake reminds me of childhood, but with a grown-up richness from dark chocolate.
- There’s a quiet pride in pulling this together quickly, knowing it’s going to impress even the most skeptical guest.
- Sometimes, I just crave that deep, bittersweet chocolate flavor—no oven, no fuss, just pure indulgence.
- Biting into it feels like a little rebellion against the fussier, more complicated desserts I used to make.
The story behind this recipe
- This recipe was born out of a lazy Sunday craving for something chocolatey but no time for the oven. I wanted that dense, creamy texture without the fuss of baking or waiting for gelatin to set. It’s become my secret weapon for last-minute dinners and unexpected guests, a dessert that feels fancy but is honestly just a handful of ingredients thrown together and chilled.
- I remember experimenting with different cookies and chocolates, trying to get that perfect balance of richness and crunch. One afternoon, I combined a few shortcuts—crushed graham crackers, silky dark chocolate, and whipped cream—and it turned into something I couldn’t stop eating. Now, it’s my go-to when I need comfort or a quick wow factor without the oven heat.
- heading
- Story behind this recipe
Trivia and Origins
- This no-bake chocolate cheesecake has roots in 20th-century dessert innovation, making use of simple refrigeration instead of baking.
- It gained popularity during wartime shortages, as it used pantry staples like cookies and chocolate, which were more accessible.
- The concept of no-bake cheesecakes can be traced back to European chilled desserts, adapted here with American ingredients for ease and speed.
Ingredient breakdown
- Cream cheese: I love how it becomes silky smooth when softened, making the base luxuriously creamy. You can swap in Greek yogurt for a tangier twist, but it’ll lose some of that rich, velvety texture.
- Dark chocolate: The oozy, slightly bitter bite is what makes this special. Use good quality chocolate, and if you want a sweeter cheesecake, toss in a little more sugar or milk chocolate instead.
- Graham crackers: I crush these until fine, and they provide that sturdy, slightly sweet crust. For a gluten-free version, try digestive biscuits or almond flour, but expect a different crunch.
- Heavy cream: Whipped until fluffy, it lightens the filling without making it airy. For a lighter option, use coconut cream, which adds a subtle coconut aroma and richness.
- Butter: Melts into the crumbs, binding everything together. Use salted butter if you like a hint of saltiness, or unsalted if you prefer to control the salt level.
- Sugar: Just enough to balance the bittersweet chocolate. Brown sugar adds a caramel note, while maple syrup could introduce a cozy warmth, but keep the texture smooth.
- Lemon juice: Brightens the chocolate flavor with a subtle zing. If you don’t have lemon, a splash of orange juice works well—just be mindful of the added sweetness.
Spotlight on key ingredients
Cream cheese:
- I love how it becomes silky smooth when softened, making the base luxuriously creamy. You can swap in Greek yogurt for a tangier twist, but it’ll lose some of that rich, velvety texture.
- Dark chocolate: The oozy, slightly bitter bite is what makes this special. Use good quality chocolate, and if you want a sweeter cheesecake, toss in a little more sugar or milk chocolate instead.
Graham crackers & Heavy cream:
- Graham crackers: I crush these until fine, and they provide that sturdy, slightly sweet crust. For a gluten-free version, try digestive biscuits or almond flour, but expect a different crunch.
- Heavy cream: Whipped until fluffy, it lightens the filling without making it airy. For a lighter option, use coconut cream, which adds a subtle coconut aroma and richness.
Notes for ingredient swaps
- Dairy-Free: Swap cream cheese for cashew or coconut-based cream cheese. Expect a slightly different tang and creaminess, but still rich.
- Vegan Chocolate: Use dairy-free dark chocolate and coconut whipped cream. It’ll be just as oozy and satisfying, with a hint of coconut aroma.
- Gluten-Free: Replace graham crackers with gluten-free digestives or crushed nuts for a nuttier, denser crust.
- Sweetener: Substitute sugar with maple syrup or honey. This adds a subtle flavor twist and a bit more moisture, so adjust crust binding accordingly.
- Butter: Use coconut oil or margarine for a dairy-free and slightly different flavor. Expect a lighter, sometimes more crumbly crust.
- Chocolate Type: Opt for milk or white chocolate if you prefer sweeter, creamier notes. Keep in mind, the filling will be milder and sweeter.
- Lemon Juice: Use lime or orange juice for a different citrus brightness. It enhances the chocolate with a zesty twist, especially with orange.
Equipment & Tools
- Springform pan: To assemble and easily remove the cheesecake.
- Mixing bowl: To combine crust ingredients and filling.
- Saucepan or microwave-safe bowl: To melt chocolate gently.
- Spatula: To mix and spread ingredients smoothly.
- Whisk: To beat cream cheese and incorporate ingredients.
- Electric mixer or hand whisk: To whip cream to soft peaks.
Step-by-step guide to no-bake cheesecake
- Equipment ready: a 20cm (8-inch) springform pan, a mixing bowl, a saucepan or microwave-safe bowl, a spatula, and a whisk. Line the pan with parchment for easy removal.
- Crush cookies: Place about 200g of graham crackers or digestive biscuits in a plastic bag, crush with a rolling pin until fine, then transfer to a bowl.
- Melt butter: In a small saucepan over low heat (around 50°C / 122°F) or in short bursts in the microwave, melt 100g of butter until just melted and fragrant.
- Combine crust: Pour melted butter over the crushed cookies, stir until evenly coated, then press into the base of the prepared pan. Chill in the fridge for 15 minutes to set.
- Melt chocolate: Break 200g of dark chocolate into small pieces. Melt gently in a bain-marie or microwave (3 x 20 sec bursts, stirring in between) until smooth and shiny. Let cool slightly.
- Mix filling: In a large bowl, beat 300g softened cream cheese until smooth. Add 100g powdered sugar, 1 tsp lemon juice, and a pinch of salt. Mix until combined.
- Add chocolate: Fold the melted, slightly cooled chocolate into the cream cheese mixture. Incorporate thoroughly, ensuring no streaks remain.
- Whip cream: In a separate bowl, whip 200ml heavy cream until soft peaks form. Gently fold the whipped cream into the chocolate mixture in stages, maintaining volume.
- Assemble: Pour the filling over the chilled crust. Smooth the top with a spatula, then tap the pan gently on the counter to release air bubbles.
- Chill: Cover loosely with plastic wrap or foil. Refrigerate for at least 4 hours, ideally overnight, until fully set and firm to the touch.
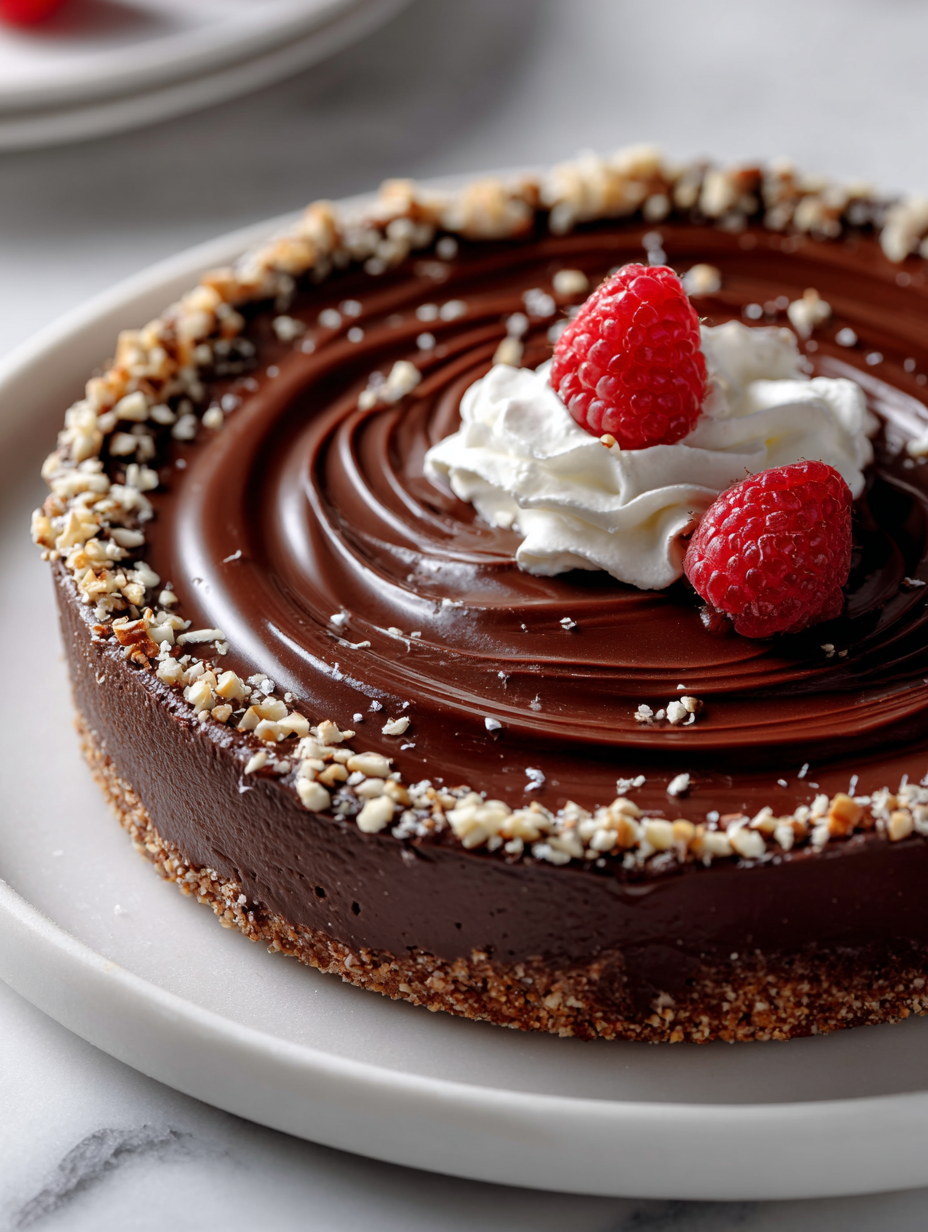
- Finish & serve: Carefully remove the cheesecake from the springform pan. Garnish with shaved chocolate, cocoa powder, or fresh berries if desired. Slice and enjoy.
Chill the assembled cheesecake in the fridge for at least 4 hours or overnight. Before serving, loosen edges with a knife if needed, then remove the springform ring. Garnish as desired, slice carefully, and serve chilled with a glass of cold milk or coffee.
How to Know It’s Done
- The crust should be firm and hold together when pressed.
- The filling should be smooth, shiny, and jiggle slightly when shaken gently.
- The top should be set and no longer sticky, with a slight crackle when sliced.
No-Bake Chocolate Cheesecake
Ingredients
Equipment
Method
- Place the graham crackers in a plastic bag and crush them with a rolling pin until fine, then transfer to a mixing bowl.
- Melt the butter gently in a saucepan over low heat or in short bursts in the microwave until just melted and fragrant.
- Pour the melted butter over the crushed cookies and stir until evenly coated. Press this mixture firmly into the base of a prepared springform pan to form a crust. Chill in the fridge for 15 minutes to set.
- Break the dark chocolate into small pieces and melt gently in a bain-marie or microwave, stirring until smooth and shiny. Let it cool slightly.
- In a large bowl, beat the softened cream cheese until smooth and creamy, then add the powdered sugar and lemon juice, mixing until combined.
- Fold the melted, slightly cooled chocolate into the cream cheese mixture until fully incorporated, creating a glossy, rich filling.
- Whip the heavy cream in a separate bowl until soft peaks form, then gently fold it into the chocolate mixture to maintain its light, airy texture.
- Pour the filling into the chilled crust and smooth the top with a spatula. Tap the pan gently on the counter to remove air bubbles.
- Cover the cheesecake loosely with plastic wrap or foil and refrigerate for at least 4 hours, preferably overnight, until set and firm.
- Once fully chilled and set, remove the sides of the springform pan. Garnish with shaved chocolate or berries if desired, then slice and serve chilled.
Notes
Pro tips for silky cheesecake
- Chill the crust mixture before pressing—this helps it set firmly and prevents crumbling.
- Melt chocolate gently—use short bursts in the microwave or a double boiler to avoid searing the ooze.
- Fold whipped cream carefully—maintain volume by gently incorporating it into the chocolate mixture.
- Check the jiggle—when slightly wobbly in the center, it’s perfectly set and ready for chilling.
- Use room temperature cream cheese—softened cheese blends smoothly without lumps or streaks.
- Smooth the top with a spatula—this creates a glossy, even surface before chilling for a professional look.
Common mistakes and how to fix them
- FORGOT to chill crust: Fix by pressing and refrigerating longer for better firmness.
- DUMPED melted chocolate: Let it cool slightly to avoid melting the cream cheese filling.
- OVER-TORCHED chocolate: Use gentle heat and stir frequently to prevent burning and bitterness.
- MISSED folding gently: Maintain volume in whipped cream by folding carefully, not stirring vigorously.
Fast fixes and pantry swaps
- When mixture is too thick, splash in a little warm milk to loosen it up.
- If crust crumbles, patch with a light layer of melted butter and press again.
- Dump melted chocolate into a cold bowl to prevent it from seizing or thickening too much.
- When cheesecake cracks, shield with a dusting of cocoa powder or whipped cream for a rustic look.
- Splash a few drops of warm water on the pan edges if cheesecake sticks during removal.
Prep, store, and reheat tips
- Prepare the crust and press it into the pan a day in advance; keep covered in the fridge to maintain freshness.
- The assembled cheesecake can be made up to 24 hours ahead; just cover loosely with plastic wrap and store in the fridge.
- Shelf life is about 2-3 days; the flavors deepen slightly, and the texture remains creamy and firm.
- Reheat slices briefly in the microwave (10-15 seconds) until slightly warm and the chocolate aroma shimmers, then serve.
- For best texture, serve chilled straight from the fridge; the crust stays crisp and the filling remains velvety.
Top questions about no bake cheesecake
1. Can I use cold cream cheese?
Use softened cream cheese so it mixes smoothly without lumps. Cold cheese makes the filling too stiff.
2. How long should I chill it?
Chill the cheesecake for at least 4 hours, ideally overnight. It helps the filling set firm and slice cleanly.
3. Can I use different chocolates?
Yes, swapping dark chocolate for milk or white chocolate will sweeten the flavor, but the texture might be less intense.
4. My cheesecake is too soft, what now?
If the filling is too runny, add a bit more melted chocolate or chill it longer before serving.
5. Can I freeze this cheesecake?
Yes, you can freeze it for up to 2 months. Wrap tightly and thaw in the fridge before serving.
6. How do I make it gluten-free?
Use gluten-free cookies or crushed nuts for the crust if you want a gluten-free version. Expect a different crunch.
7. Can I make it dairy-free?
Yes, coconut cream whipped until fluffy is a good dairy-free alternative. It adds a subtle coconut flavor.
8. How do I know when the whipped cream is ready?
Ensure the whipped cream is just soft peaks; overwhipping can make it grainy and difficult to fold in.
9. My crust is crumbly, how do I fix it?
If the crust crumbles when pressing, chill it longer or add a bit more melted butter to help it bind.
10. How should I fold the whipped cream?
Use a gentle folding motion to keep the whipped cream airy and prevent deflating the filling.
This simple dessert sneaks in a little comfort with every bite, especially when you need something quick and satisfying. It’s funny how something so rich and velvety can come together with just a handful of ingredients and a bit of patience in the fridge.
In the end, it’s these unpolished, honest treats that remind me the best desserts don’t need to be complicated. Sharing this one rarely fails to spark a smile, even on the busiest days or the most unexpected moments.

Hi, I’m Madison Lane, the cook, recipe creator, and heart behind this kitchen. Food has been part of my life for as long as I can remember. Some of my earliest memories are of standing beside my dad while he cooked, watching him move comfortably around the kitchen, tasting sauces, and explaining why patience mattered just as much as seasoning.
