There’s something about caramel bites that whispers childhood—those sticky fingers, the sweet rush, and that perfect balance of chewy and gooey. But I’ve always found traditional recipes a bit fussy, with melting sugars and complicated steps that turn baking into a science experiment. So I started thinking—what if I could make something just as nostalgic, but way simpler, without turning on the oven?
This no bake caramel bites recipe is my answer. It’s a quick fix for those afternoons when a sweet treat calls, but I’m not in the mood to fuss with candy thermometers or sticky stovetops. It’s honest, straightforward, and feels like a little secret I can whip up anytime, no matter how chaotic the day gets. Plus, it’s a reminder that sometimes the best bites are the easiest ones to make.
Focusing on the nostalgic comfort of childhood treats while giving them a modern, sophisticated twist that requires no baking skill.
Nostalgic Sweets Made Simple
- Making these caramel bites takes me back to lazy Sunday afternoons with my grandmother, her hands quick and sure, sweet smell filling the kitchen.
- I love how this recipe turns a hectic afternoon into a little celebration—no oven, no fuss, just sweet, sticky joy in every bite.
- There’s a weird relief I feel when I realize I can whip up something so decadent with just a few basic ingredients—no stress, just good vibes.
- Sometimes I get nostalgic and crave these caramel bites because they remind me of childhood summer fairs, bustling and full of flavor.
- The best part? Sharing these with friends and watching their faces light up—simple, honest, and utterly satisfying.
The story behind this recipe
- This recipe was born out of a moment of kitchen chaos—no time for baking, but a craving for something rich and sweet. I remembered a batch of caramel candies I once tried to make, but they turned into a sticky mess. Instead of tossing it all, I thought, why not turn that gooey mess into something bite-sized and easy? That’s how these caramel bites came to be, a little accident turned into a sweet, no-fuss treat.
- I made a batch late one evening when I needed a quick pick-me-up after a long day. The smell of melting caramel, warm and inviting, reminded me how simple ingredients can create something memorable. Ever since, they’ve been my go-to for quick gatherings, or just when I want a nostalgic moment without the fuss.
- heading
- story_type
Historical & Cultural Tidbits
- These caramel bites originated from a 1950s homemaker’s cookbook, where no-bake desserts were a clever solution for busy kitchens.
- They were initially popular as quick party treats during the post-war era, when sugar and ingredients were rationed but creativity was key.
- The concept of no-bake confections dates back even further, with roots in traditional fudge and taffy recipes that relied on simple, raw ingredients.
- Modern variations often include artisanal salts or fancy toppings, but the classic version keeps it simple—a reflection of mid-century convenience.
- In recent years, these bites have seen a resurgence, thanks to the minimalist movement and a craving for nostalgic, fuss-free sweets.
Ingredient breakdown: key components
- Sweetened condensed milk: This is the glue for that rich, sticky caramel flavor. If you’re out, try coconut milk with a touch of honey—less gooey but still satisfying.
- Brown sugar: Adds depth and that caramelly warmth. Light brown is milder; dark brown will give you a richer, more molasses-like note, which I love in these bites.
- Butter: I use unsalted, but if you only have salted, just cut back on the added salt later. The butter melts smooth and makes the texture velvety—feel that silky glide in your mouth.
- Vanilla extract: Brightens everything—don’t skimp. If you want a deeper aroma, try a splash of bourbon vanilla; it’s subtle but adds a layer of complexity.
- Sea salt: A pinch on top really makes the caramel pop. If you’re out, a dash of flaky sea salt can add that crunchy contrast and smoky edge to each bite.
- Chocolate (optional): Melting a handful of dark chocolate on top adds a bittersweet counterpoint. Use good quality chocolate for that glossy finish and deep cocoa aroma.
- Parchment paper: Essential for easy release and clean edges. No fancy tricks, just lay it flat, and your bites will come off perfectly without sticking.
Spotlight on key ingredients
Sweetened condensed milk:
- This creates that irresistibly gooey, rich caramel flavor. If you’re out, try coconut milk with a touch of honey—less sticky but still satisfying.
- Brown sugar: Adds warmth and depth. Light brown gives a milder taste, dark brown brings a molasses-like richness that I love in these bites.
Sea salt & chocolate:
- Sea salt: Just a pinch makes the caramel pop. Flaky sea salt adds crunch and a smoky note that balances sweetness perfectly.
- Chocolate (optional): Melting dark chocolate on top adds a bittersweet shine. Use good quality for that glossy finish and deep cocoa aroma.
Notes for ingredient swaps
- Dairy-Free: Use coconut condensed milk for a rich, tropical flavor without dairy, though it may be slightly less gooey.
- Sugar Alternatives: Maple syrup or honey can replace brown sugar, adding unique sweetness and moisture, but may alter texture and color.
- Butter-Free: Swap with coconut oil or vegan margarine for dairy-free options; expect a slightly different mouthfeel and flavor.
- Chocolate Variations: White chocolate or milk chocolate can be used instead of dark, changing the flavor profile but still delicious.
- Salt Types: Flaky sea salt offers crunch and a smoky note; regular coarse salt works fine if you prefer a subtler saltiness.
- Flavor Boosters: A splash of bourbon vanilla or almond extract can deepen the aroma, but keep the quantity small to avoid overpowering.
- Add-ins: Chopped nuts or dried fruit sprinkled on top before setting can add texture and contrast, customize to your taste.
Equipment & Tools
- Parchment paper: Prevents sticking and makes removal easy.
- Saucepan: Melts the caramel mixture evenly.
- Microwave-safe bowl: For melting chocolate smoothly.
- Spatula: Spreads caramel evenly and mixes ingredients.
- Knife: Cuts the cooled caramel into bites.
Step-by-step guide to caramel bites
- Equipment ready: line a 9-inch square dish with parchment paper, have a spatula, a microwave-safe bowl, and a small saucepan nearby.
- Combine 1 cup brown sugar, 1/2 cup unsalted butter, and 1/2 cup sweetened condensed milk in the saucepan. Melt over medium-low heat, stirring constantly. Aim for a gentle simmer, about 5 minutes, until the mixture thickens slightly and turns a golden caramel hue. Smell for that rich, buttery aroma.
- Once melted, pour the hot caramel into the prepared dish, spreading evenly with the spatula. Let it cool at room temperature for about 20 minutes until firm but still pliable.
- Using a sharp knife, cut the cooled caramel into small, bite-sized squares—or irregular chunks if you prefer a more rustic look. If the caramel is too sticky, refrigerate for 10 minutes to firm up, making cutting easier.
- Optional: Melt 1/4 cup dark chocolate in a microwave-safe bowl in 30-second bursts, stirring in between until smooth. Dip the top of each caramel bite into the chocolate, then place back on parchment to set. For a quick fix if chocolate cracks, gently re-melt and re-dip.
- Sprinkle a tiny pinch of sea salt on each chocolate-topped bite immediately after dipping. The salt enhances the caramel’s richness and adds a subtle crunch.
- Let the bites rest at room temperature or in the fridge for 15-20 minutes until the chocolate is glossy and set. Serve directly from the dish or transfer to an airtight container.
Allow the caramel bites to cool completely, then rest at room temperature or refrigerate for best texture. Serve on a plate or store in an airtight container for up to a week.
How to Know It’s Done
- Caramel should be thick but pourable, with a deep golden color and fragrant buttery aroma.
- Bites hold shape without sticking excessively to your fingers; they’re firm but not hard.
- Chocolate topping should be shiny, with no cracks or dull patches, indicating proper setting.
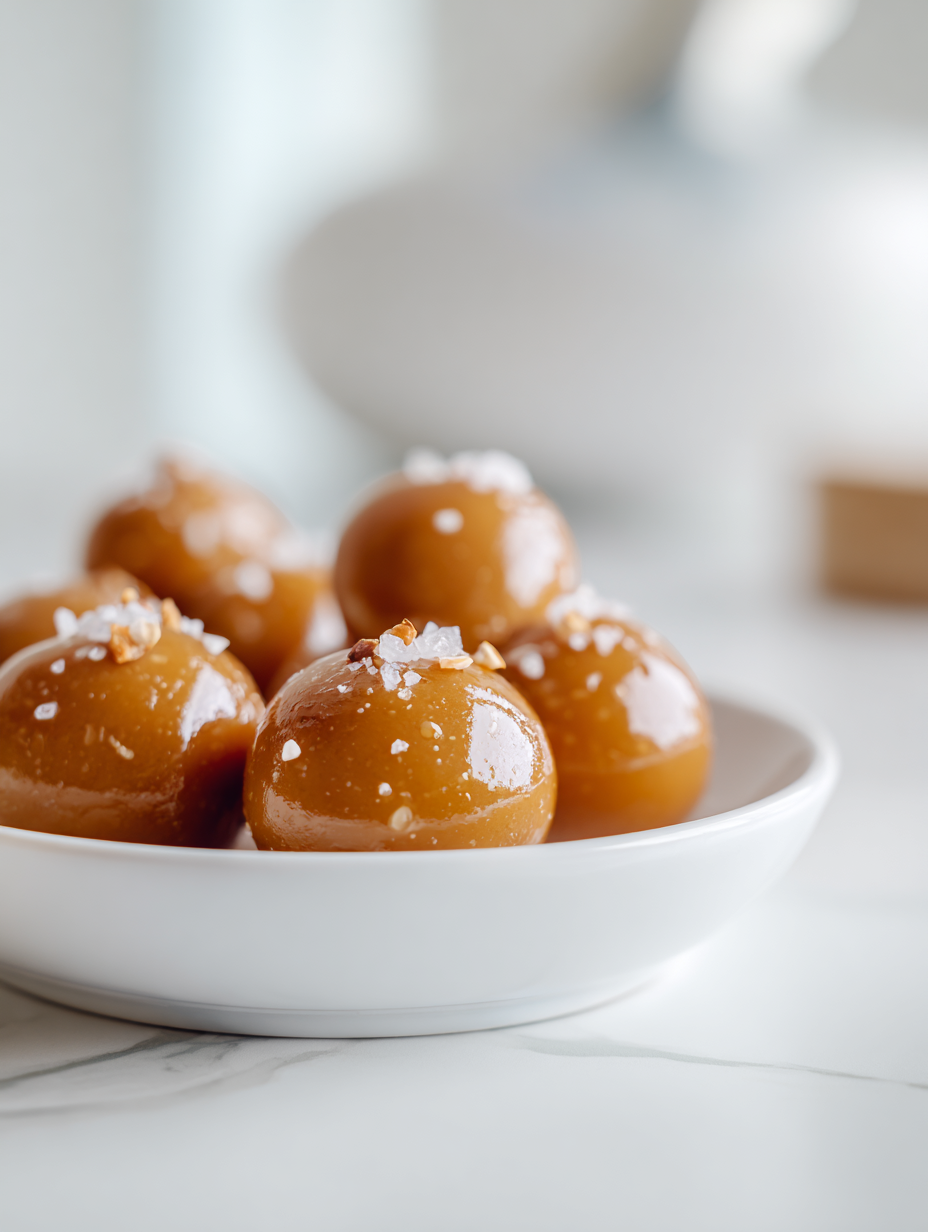
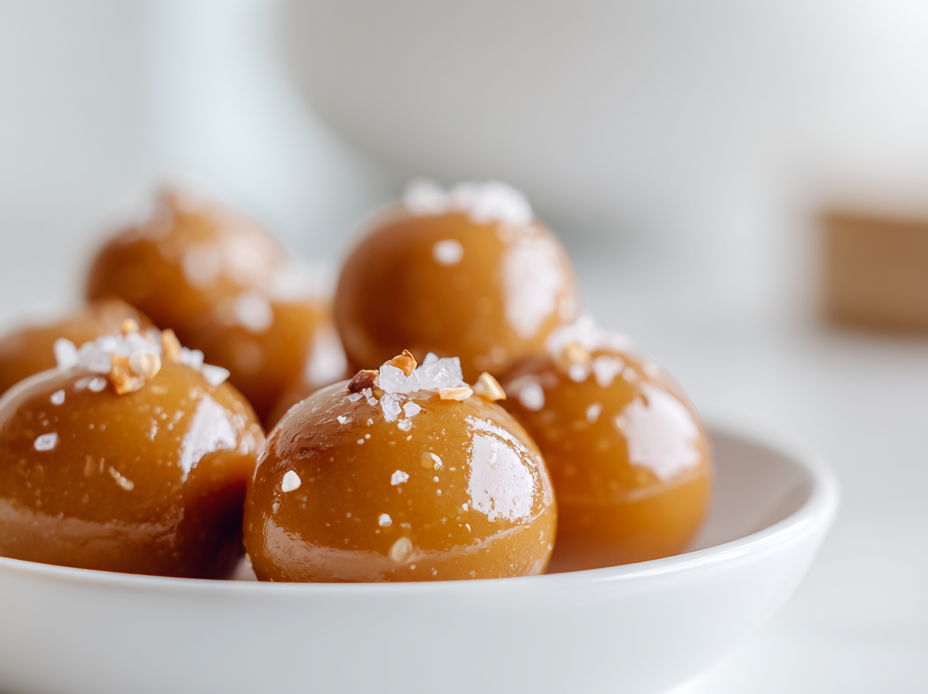
No-Bake Caramel Bites
Ingredients
Equipment
Method
- Line a 9-inch square dish with parchment paper, leaving some overhang for easy removal.
- Combine the brown sugar, butter, and sweetened condensed milk in a saucepan over medium-low heat.
- Stir constantly as the mixture begins to melt and bubble, releasing a sweet, buttery aroma. Continue stirring until the sugar and butter are fully dissolved and the mixture turns a golden caramel color, about 5 minutes.
- Remove the saucepan from heat and pour the hot caramel into the prepared dish, spreading it evenly with a spatula.
- Let the caramel cool at room temperature for about 20 minutes until it’s firm but still pliable.
- Once cooled, use a sharp knife to cut the caramel into bite-sized squares or rustic chunks, depending on your preference. If it’s too sticky, refrigerate for 10 minutes to make slicing easier.
- Meanwhile, melt the dark chocolate in a microwave-safe bowl in short 30-second bursts, stirring until smooth and glossy.
- Dip the top of each caramel piece into the melted chocolate, then place back on the parchment paper.
- Immediately sprinkle a tiny pinch of sea salt on each chocolate-topped bite to enhance flavor.
- Allow the chocolate to set for about 15 minutes at room temperature or refrigerate for quicker results. Once set, serve or store in an airtight container at room temperature for up to a week.
Pro tips for perfect caramel bites
- Use room temperature ingredients for smoother melting and mixing.
- Stir constantly while melting to prevent scorching and ensure even caramelization.
- Chill the caramel slightly before cutting for cleaner edges and less stickiness.
- When dipping in chocolate, reheat gently to maintain gloss and prevent cracking.
- Sprinkle salt immediately after chocolate coating to enhance flavor contrast.
- For softer bites, slightly reduce the butter quantity or refrigerate for a shorter time.
- Use a sharp knife for clean cuts; warm it up with hot water and dry for easier slicing.
Common mistakes and how to fix them
- FORGOT to watch the caramel: it can burn quickly—stir constantly and remove from heat at the right color.
- DUMPED too much salt: use a small pinch—over-salting makes bites overly salty and masks caramel flavor.
- OVER-TORCHED the chocolate: melt gently in short bursts, stir until smooth, avoid burning for glossy coating.
- SKIPPED lining the pan: parchment prevents sticking and makes removal easier, don’t skip this step.
Quick Fixes and Pantry Swaps
- When caramel is too sticky, splash in a little warm water and stir to loosen.
- If chocolate cracks when melting, patch with a quick re-melt for a glossy finish.
- Splash a tiny bit of coconut oil into melted chocolate for extra shine and smoothness.
- When caramel isn’t firm enough, refrigerate for 10 minutes before cutting for cleaner edges.
- Patch over cracks in chocolate with a quick reheating and re-dip for a flawless look.
Prep, store, and reheat tips
- Prepare the caramel mixture ahead: melt and combine ingredients, then pour into the dish. It will set in the fridge for up to 2 hours, making cutting easier and cleaner.
- Store the caramel bites in an airtight container at room temperature for up to 5 days. The texture remains chewy and the caramel flavor stays vibrant.
- For longer storage, refrigerate for up to 2 weeks. Bring to room temperature for a few minutes before serving to soften slightly and enhance the aroma.
- Reheat chocolate-topped bites briefly in the microwave at 10-15 second intervals until just melted and glossy. The caramel may soften slightly, but that’s normal.
Top questions about caramel bites
1. Can I make these dairy-free?
Yes, using coconut condensed milk gives a similar gooey texture with a hint of coconut flavor.
2. How long do these last?
Refrigerate for up to 2 weeks in an airtight container for best freshness.
3. My caramel is too soft, what do I do?
If the caramel isn’t setting, chill it in the fridge for about 15 minutes before cutting.
4. Can I skip the chocolate topping?
Use high-quality dark chocolate for a richer flavor and glossy finish.
5. Should I add salt or not?
Yes, adding a pinch of sea salt on top enhances the caramel’s flavor and adds crunch.
6. How do I melt the chocolate without burning it?
Melt chocolate slowly in short bursts in the microwave or double boiler to prevent burning.
7. Do I need to line the pan?
Line your pan with parchment paper to prevent sticking and for easy removal.
8. The chocolate is crackling, what now?
Reheat the chocolate gently if it thickens or cracks during dipping, just a few seconds in the microwave.
9. My bites are sticky and messy, how can I fix that?
Chill the bites briefly before cutting to get clean, sharp edges and prevent sticking.
10. Where’s the best place to store these?
Store in a cool, dry place away from direct sunlight to maintain texture and flavor.
These no bake caramel bites are more than just a quick treat—they’re a bridge to childhood memories, with that rich, buttery aroma and gooey texture. In a world that often rushes past, they remind me to slow down and savor simple pleasures. Sometimes, the best moments come from a handful of ingredients and a little patience.
Whenever I make these, I think about how small, easy joys can turn any day around. Whether shared with friends or enjoyed in quiet solitude, these bites hold a kind of magic—no oven required, just honest, homemade sweetness.

Hi, I’m Madison Lane, the cook, recipe creator, and heart behind this kitchen. Food has been part of my life for as long as I can remember. Some of my earliest memories are of standing beside my dad while he cooked, watching him move comfortably around the kitchen, tasting sauces, and explaining why patience mattered just as much as seasoning.
