In the middle of a hectic week, I found myself craving something sweet but didn’t want to spend time in the kitchen. This no-bake peanut butter bar recipe became my save—simple, quick, and honestly, kind of chaotic to put together in my small, cluttered space. It’s one of those recipes where you throw everything in one bowl, stir like crazy, and hope it turns out decent enough to share.
What I love about these bars is their no-fuss nature—no oven, no complicated techniques, just peanut butter, chocolate, and a bit of patience while they set. They remind me of childhood snacks, sticky fingers and all, but with a grown-up twist that makes them perfect for last-minute guests or a pantry emergency.
Sometimes, the best desserts come from chaos. This one’s a messy love letter to those moments when you just need something sweet and satisfying without the fuss, especially when life’s busy, and time’s tight. They’re honest, a little sticky, and absolutely worth it.
This recipe is inspired by the chaos of my kitchen during a last-minute dessert craving. I needed something quick, no fuss, but still satisfying enough to share with friends. It’s a messy, honest attempt at comfort—no bake, no drama, just good peanut butter and chocolate sticking together in a sweet, sticky hug.
The story behind this recipe
- This recipe harks back to lazy weekend afternoons when my grandma would pull out a jar of peanut butter and a bar of chocolate, and somehow, we’d end up with these sticky, peanutty bars that disappeared too fast. It’s funny how something so simple can carry so many memories—those moments of chaos and laughter around the kitchen table, fighting for the last bite.
- The inspiration struck one day when I was desperately craving something sweet but had no time or energy for a proper bake. I grabbed what I had—peanut butter, chocolate, a handful of graham crackers—and threw it all together. The messier, the better, honestly. Turns out, these no-bake bars are a perfect reminder that sometimes, simplicity wins.
- heading:
Key ingredients and tips
- Creamy peanut butter: I prefer a smooth, natural kind that oozes richness and sticks nicely. If yours is too thick, warm it slightly to loosen it up for easier mixing.
- Chocolate chips: Semi-sweet chocolate melts with a lovely glossy sheen. For a deeper flavor, try dark chocolate, but watch out—bitterness can sneak in if you’re not careful.
- Unsalted butter: Adds a little shine and helps everything meld. If you only have salted, just cut back on the salt in the recipe to balance the flavors.
- Graham cracker crumbs: They give the base a gentle sweetness and crunch. You can swap with crushed digestive biscuits or even a handful of oats for texture.
- Honey or corn syrup: I toss in a drizzle for extra stickiness and a hint of floral sweetness. If you want less sweetness, skip it, but expect a slightly drier texture.
- Sea salt: Just a pinch on top enhances the chocolate and peanut butter. Use flaky sea salt for a subtle crunch and a burst of saltiness in every bite.
- Optional add-ins: Chopped peanuts or a sprinkle of sea salt flakes can elevate the bars. Keep it simple or go wild—your call, just think about texture and contrast.
Spotlight on key ingredients
Peanut Butter:
- Creamy peanut butter: I prefer a smooth, natural kind that oozes richness and sticks nicely. If yours is too thick, warm it slightly to loosen it up for easier mixing.
- Chocolate chips: Semi-sweet chocolate melts with a lovely glossy sheen. For a deeper flavor, try dark chocolate, but watch out—bitterness can sneak in if you’re not careful.
- Sea salt: Just a pinch on top enhances the chocolate and peanut butter. Use flaky sea salt for a subtle crunch and a burst of saltiness in every bite.
Chocolate & Butter:
- Chocolate chips: They melt quickly and become silky, creating that shiny, fudgy top layer. Chips with a high cocoa content give a richer flavor, but can be more bitter—balance with a touch more salt or sweetener.
- Sea salt: It’s small but mighty—just a sprinkle heightens the chocolate and peanut butter flavors. I like flaky sea salt for texture, but coarse salt works too if you prefer a more noticeable crunch.
- Butter: It helps the chocolate melt smoothly and adds a subtle richness. If you’re dairy-free, coconut oil is a good swap, but it lends a slightly different aroma and mouthfeel.
Notes for ingredient swaps
- Dairy-Free: Swap regular butter for coconut oil or vegan butter—still creamy but with a tropical twist.
- Nut-Free: Use sunflower seed butter instead of peanut butter—less sticky, slightly earthier flavor.
- Sugar-Free: Replace honey with maple syrup or agave nectar—still sticky, just a different sweetness profile.
- Chocolate: Opt for carob chips if you want a caffeine-free, slightly different taste with less bitterness.
- Crunch: Add crushed pretzels or toasted rice cereal for extra crunch and a salty contrast.
- Sweetener: Use brown sugar or coconut sugar in place of honey for deeper, caramel-like notes.
- Flavor Boost: Mix in a pinch of cinnamon or espresso powder to enhance the chocolate and peanut butter flavor.
Equipment & Tools
- Baking dish: To hold and shape the bars.
- Microwave-safe bowl: For melting chocolate and butter evenly.
- Spatula: To mix and press the mixture into the dish.
- Sharp knife: For cleanly slicing the set bars.
- Parchment paper or foil: To prevent sticking and make removal easier.
Step-by-step guide to no bake bars
- Equipment ready: line a 20×20 cm (8×8 inch) baking dish with parchment paper or foil, leaving overhang for easy removal. Have a microwave-safe bowl, spatula, and a small saucepan nearby.
- Melt the chocolate: microwave the chocolate chips and butter in 30-second bursts, stirring each time, until smooth and glossy. About 1-2 minutes total. Smell the rich cocoa and butter melting together.
- Mix the base: in a large bowl, combine peanut butter, honey, and vanilla. Stir until smooth and creamy. It should ooze slightly when mixed. If too thick, warm the peanut butter slightly beforehand.
- Combine: pour the melted chocolate into the peanut butter mixture. Stir vigorously until everything is evenly coated and glossy. A thick, sticky, peanut-chocolate paste should form.
- Add crumbs: fold in crushed graham crackers or cookies. Mix until evenly distributed. The mixture will be thick and slightly crumbly but sticky enough to press together.
- Transfer: spread the mixture into your prepared dish. Use a spatula or the back of a spoon to press down firmly into an even layer. You want it packed tight but smooth on top.
- Chill: refrigerate for at least 2 hours, or until firm. If in a hurry, freeze for 1 hour, but don’t forget to set a timer—these bars need to be solid for clean slicing.
- Check for doneness: the bars should be firm and set, with a shiny chocolate layer on top. If they jiggle or feel soft, give them more chilling time. Avoid slicing before they’re fully firm to prevent mess.
- Finish and serve: use the overhang to lift the bars out of the dish. Slice into squares with a sharp knife. For cleaner cuts, dip the knife in hot water and wipe after each cut.
- Rest briefly: let the sliced bars sit at room temperature for 5 minutes to soften slightly. This makes biting into them more satisfying, with a smooth chocolate and peanut butter melt.
Refrigerate until completely firm, about 2 hours. Slice into squares, then serve directly from the fridge for best texture. Let sit at room temperature for 5 minutes before biting in to soften slightly.
How to Know It’s Done
- Chocolate layer is glossy and smooth, not streaky.
- Bars feel firm and hold shape when sliced.
- No sticky or runny mixture; it should be sliceable without crumbling.
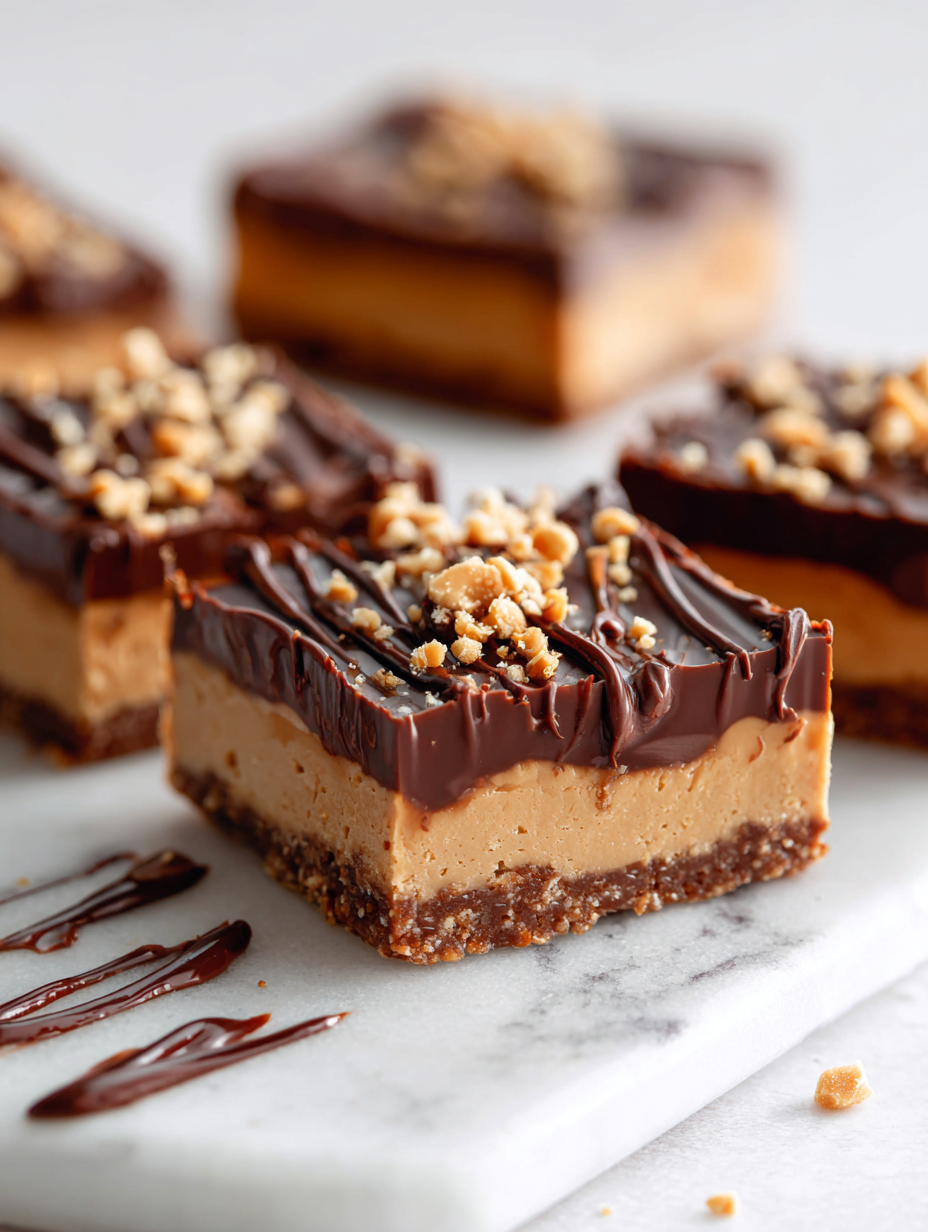
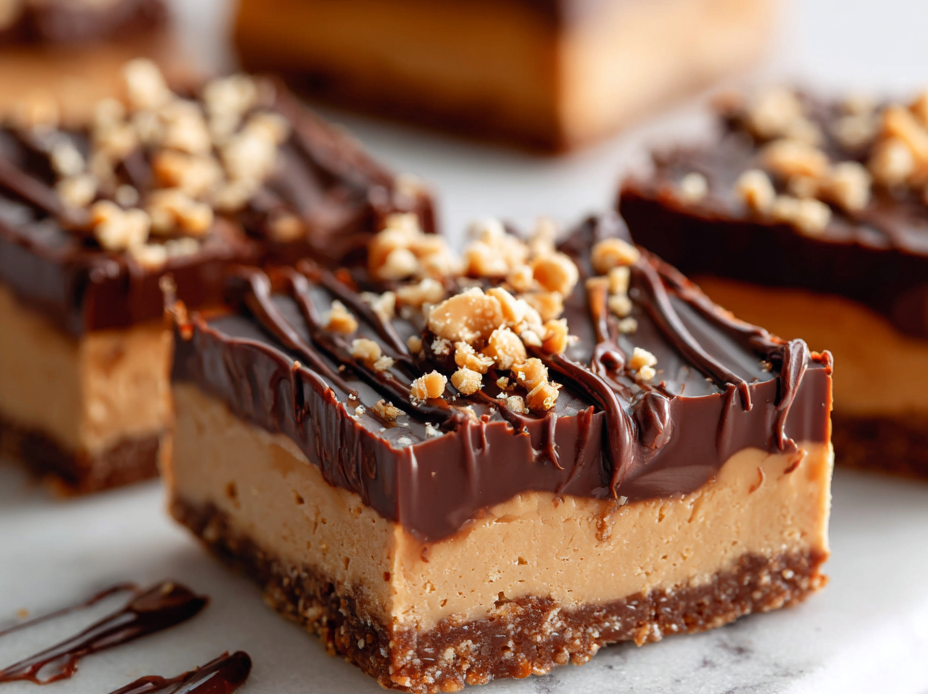
No-Bake Peanut Butter Chocolate Bars
Ingredients
Equipment
Method
- Line a 20x20 cm (8x8 inch) baking dish with parchment paper or foil, leaving overhang for easy removal.
- Combine the chocolate chips and butter in a microwave-safe bowl and microwave in 30-second bursts, stirring each time, until the mixture is smooth and glossy. This should take about 1-2 minutes. The aroma of melting chocolate and butter will fill the air.
- In a large bowl, stir together the peanut butter, honey, and vanilla until smooth and slightly runny.
- Pour the melted chocolate mixture into the peanut butter mixture and stir vigorously until everything is fully combined, forming a thick, glossy, peanut-chocolate paste.
- Fold in the crushed graham cracker crumbs, mixing until evenly distributed throughout the thick mixture.
- Transfer the mixture into your prepared dish. Use a spatula or the back of a spoon to press it down firmly and evenly, ensuring there are no air pockets.
- Place the dish in the refrigerator and chill for at least 2 hours, or until the mixture is firm and set. If in a hurry, you can freeze it for about 1 hour but remember to set a timer.
- Once firm, lift the set mixture out of the dish using the overhang, and place it on a cutting board.
- Use a sharp knife dipped in hot water to slice the bars into neat squares or rectangles, wiping the knife clean and reheating between cuts for cleaner edges.
- Arrange the sliced bars on a plate, optionally sprinkle a tiny pinch of sea salt on top for added flavor contrast, and serve immediately or store in an airtight container in the fridge.
Notes
Pro tips for perfect bars
- Use room temperature peanut butter for easier mixing and a smoother base.
- Melt chocolate slowly in short bursts to prevent burning and achieve a glossy finish.
- Press mixture firmly into the pan to eliminate air pockets and ensure even set.
- Chill the bars in the fridge for at least 2 hours for a firm, clean slice without crumbling.
- Dip your knife in hot water between cuts for cleaner, smoother edges.
- Add a pinch of sea salt on top before chilling to enhance the chocolate and peanut butter flavor contrast.
- For extra crunch, sprinkle crushed nuts or pretzels on top before the final chill.
Common mistakes and how to fix them
- FORGOT to level the chocolate: Melts unevenly—stir thoroughly and microwave in short bursts.
- DUMPED too much salt: Salt enhances flavor but can overpower—use sparingly and taste as you go.
- OVER-TORCHED the chocolate: Burnt chocolate tastes bitter—remove from heat immediately if it starts to smell smoky.
- SKIPPED chilling time: Bars won’t set properly—allow at least 2 hours for firm, clean slices.
Quick fixes and pantry swaps
- When mixture is too sticky, splash a little warm water to loosen it up.
- If chocolate isn’t melting smoothly, microwave in short bursts and stir vigorously.
- Dumped too much salt? Patch with a drizzle of honey or more chocolate for balance.
- Over-torched the chocolate? Shield with a spoonful of fresh chocolate and stir quickly.
- When bars crack or crumble, rescue by warming slightly at room temp before slicing again.
Prep, store, and reheat tips
- Prepare the mixture and line your pan ahead of time; it makes assembly quicker and less chaotic.
- Bars can be stored in an airtight container in the fridge for up to 1 week, keeping the chocolate shiny and fresh.
- For longer storage, freeze the bars for up to 3 months; wrap tightly to prevent freezer burn and ice crystals.
- Refrigerate or thaw the bars in the fridge before serving; they firm up nicely and maintain their chewy texture.
- To reheat for a softer, melty experience, briefly warm individual bars in the microwave at 10-second intervals, watching for shiny, gooey chocolate.
Top questions about peanut butter bars
1. Can I use crunchy peanut butter?
Use natural creamy peanut butter for a richer, more authentic flavor, but any smooth variety works.
2. What if I only have chunky peanut butter?
Yes, but the texture will be chunkier. Consider chopping the crunchy bits finely for a smoother bite.
3. How long should I refrigerate the bars?
Chill the bars for at least 2 hours to ensure they set properly and slice cleanly.
4. How do I melt the chocolate without burning it?
Microwave the chocolate and butter in short 30-second bursts, stirring each time, until smooth and glossy.
5. Can I make these dairy-free?
Yes, you can substitute coconut oil for butter for a dairy-free version, but it may alter the richness slightly.
6. Should I add salt on top?
Add a pinch of sea salt on top before chilling to enhance the chocolate and peanut butter flavor contrast.
7. How should I store these bars?
Store the bars in an airtight container in the fridge for up to a week, or freeze for longer storage.
8. How can I get neat cuts?
Dip your sharp knife in hot water between cuts for cleaner, smoother slices.
9. What if the mixture is too sticky to spread?
If the mixture is too sticky, add a bit more cracker crumbs or refrigerate briefly to firm it up.
10. Can I reheat these bars?
For a softer, more melty texture, briefly microwave individual slices for 10 seconds before serving.
These no-bake peanut butter bars are a reminder that sometimes, simplicity carries the most warmth and comfort. They’re perfect for spontaneous cravings or last-minute gatherings, offering that nostalgic peanutty richness everyone loves. No matter how chaotic your kitchen feels, these bars come together with honest ingredients and a bit of patience.
Whenever I make them, I think about how a few humble pantry staples can turn into something genuinely satisfying. They’re messy, a little sticky, and totally imperfect—just like real life. But in those imperfections, there’s a quiet kind of joy that keeps drawing me back to this recipe.

Hi, I’m Madison Lane, the cook, recipe creator, and heart behind this kitchen. Food has been part of my life for as long as I can remember. Some of my earliest memories are of standing beside my dad while he cooked, watching him move comfortably around the kitchen, tasting sauces, and explaining why patience mattered just as much as seasoning.
