This no-bake cheesecake bars recipe is my go-to when I want something sweet without the oven heat. It’s a relief during summer, especially after a long day when turning on the stove feels like a chore. Plus, it’s so adaptable — I can make it with whatever cookies or cream cheese I have in the fridge.
What I love most is how quickly it comes together, no fuss, no waiting for it to bake and cool. It’s become my secret weapon for last-minute parties or when I need a dessert that impresses but doesn’t require hours of prep. It’s a little treat I keep coming back to, especially during those warm, lazy weekends.
This recipe is inspired by my late-night craving for something sweet yet effortless, a dessert that I can whip up without turning on the oven, especially during those hot summer nights when heat is the last thing I want in the kitchen. It’s about reclaiming comfort food with minimal fuss, using ingredients I usually have on hand. The no-bake aspect makes it perfect for busy weekends or last-minute gatherings, where I want to impress without stress.
A Sweet Escape Without the Oven
- I remember the first time I made these bars during a heatwave, and the relief of not turning on the oven was huge.
- There’s a nostalgic joy in crushing cookies and mixing everything by hand — it feels like a small, sweet ritual.
- Sometimes, I get a little proud when friends ask for the recipe — it’s simple, but it feels like a secret reward.
- Making these bars has become my go-to when I need a quick dessert that feels indulgent but is honestly just effortless.
- I love how a few spoonfuls of lemon zest can brighten the entire creamy, dense bite — it’s a tiny, happy surprise.
The story behind this recipe
- This recipe came together on a lazy Sunday when I realized I had a fridge full of cream cheese and no plans to turn on the oven. I wanted something rich, creamy, but straightforward enough to whip up without fuss. It’s the kind of dessert that feels like a small victory—no heat, no mess, just good ingredients and a little patience in the fridge.
- I remember the first time I layered the crust and filling, nervously tapping the pan to settle everything. The smell of crushed cookies and melting butter instantly took me back to childhood treats, but with a modern, no-bake twist. Now, it’s my default for quick gatherings or when I need a sweet fix that won’t steal my whole afternoon.
- heading: “The story behind this recipe”
Trivia and Origins
- The concept of no-bake desserts dates back to wartime shortages, when baking ingredients were scarce and ingenuity was necessary.
- This particular cheesecake bar variation gained popularity in the early 2000s, thanks to the rise of quick, no-oven recipes on food blogs.
- The use of crushed cookies as a base has roots in traditional European refrigerator desserts, adapted here for simplicity and ease.
Key ingredients and tips
- Cream cheese: I love how it becomes silky and smooth when softened, giving that luscious texture. Make sure it’s at room temp or you’ll end up with lumps—nothing worse than a gritty filling.
- Graham cracker crumbs: I find crushing my own gives a rustic feel, but store-bought works fine. Keep an eye on the butter—if it’s too hot, the crust can become greasy, so melt just enough to mix evenly.
- Butter: I prefer unsalted for control, but salted adds a subtle depth. Melt it gently—no sizzling or browning—until it’s just liquefied and shiny.
- Sugar: I use regular granulated sugar, but a touch of powdered sugar can make the filling even smoother. Too much sweetness can overpower the tang, so measure carefully.
- Lemon juice: Brightens everything with a zesty kick—use fresh for that vibrant, citrusy aroma. If you skip it, the filling might feel a bit flat and dull.
- Heavy cream: Whipped to soft peaks, it lifts the filling and adds a lightness. Chill your bowl and beaters beforehand; otherwise, it won’t hold its fluff.
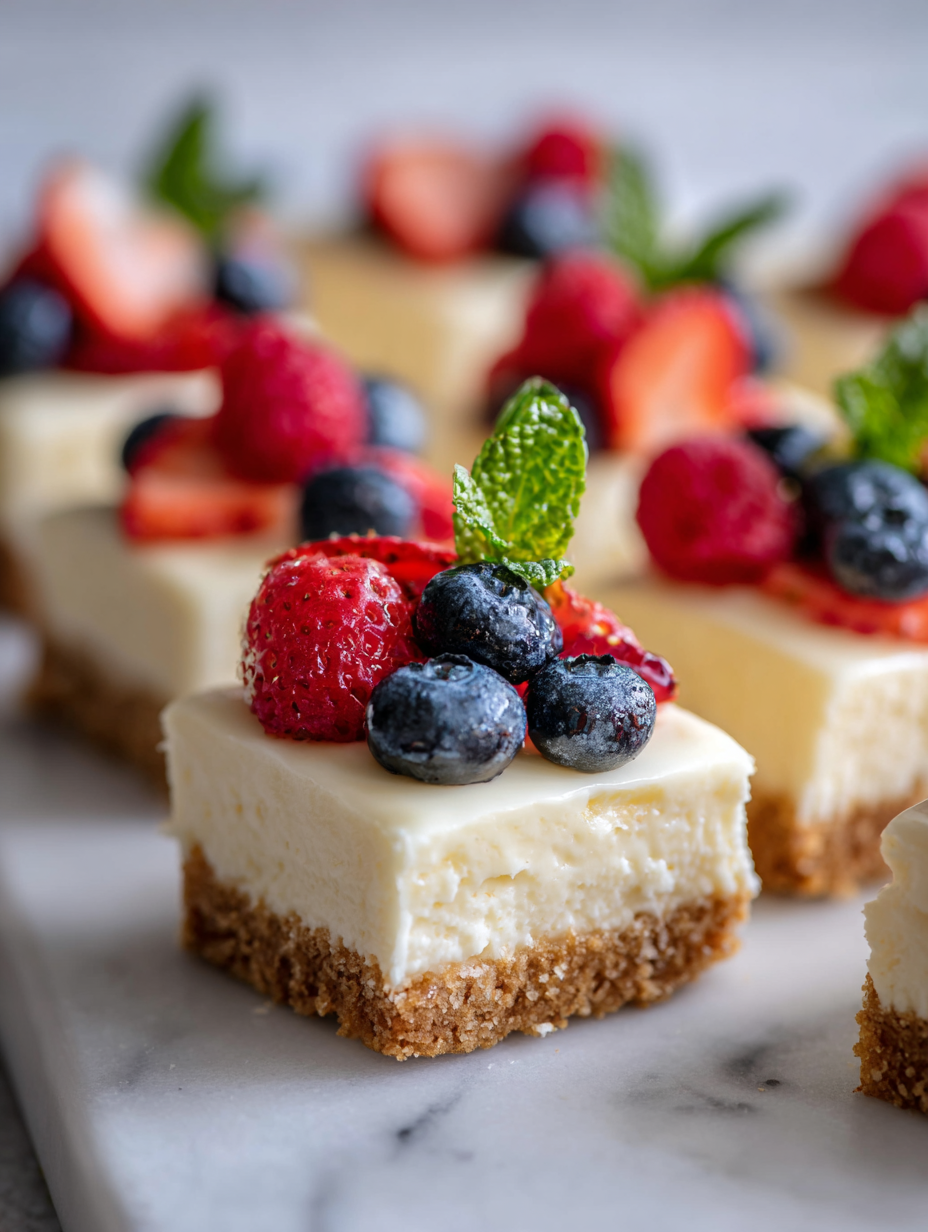
- Optional toppings: Fresh berries or a drizzle of melted chocolate add contrast and color—think of it as the finishing touch that makes the bars pop visually and flavor-wise.
Spotlight on key ingredients
Cream cheese:
- I love how it becomes silky and smooth when softened, giving that luscious texture. Make sure it’s at room temp or you’ll end up with lumps—nothing worse than a gritty filling.
- Graham cracker crumbs: I find crushing my own gives a rustic feel, but store-bought works fine. Keep an eye on the butter—if it’s too hot, the crust can become greasy, so melt just enough to mix evenly.
- Butter: I prefer unsalted for control, but salted adds a subtle depth. Melt it gently—no sizzling or browning—until it’s just liquefied and shiny.
Heavy cream:
- Lemon juice: Brightens everything with a zesty kick—use fresh for that vibrant, citrusy aroma. If you skip it, the filling might feel a bit flat and dull.
- Whipped to soft peaks, it lifts the filling and adds a lightness. Chill your bowl and beaters beforehand; otherwise, it won’t hold its fluff.
- Optional toppings: Fresh berries or a drizzle of melted chocolate add contrast and color—think of it as the finishing touch that makes the bars pop visually and flavor-wise.
Notes for ingredient swaps
- Dairy-Free: Swap cream cheese for a cashew-based cream cheese or coconut cream. Expect a slightly different tang and creaminess, but still rich.
- Gluten-Free: Use gluten-free cookie crumbs or crushed graham crackers. The texture might be a touch denser but equally satisfying.
- Sugar Alternatives: Replace granulated sugar with honey, maple syrup, or agave syrup. Adjust quantities to taste—liquid sweeteners can affect consistency.
- Lemon Juice: Use bottled lemon juice in a pinch, but fresh lemon zest and juice provide a brighter, more vibrant flavor.
- Heavy Cream: Substitute with coconut cream or Greek yogurt for a tangy twist. Keep in mind, it may change the texture and richness.
- Cookie Base: Try graham crackers, digestive biscuits, or even vanilla wafers. Each will add a different flavor profile and texture.
- Flavor Boosts: Add a splash of vanilla extract or a pinch of cinnamon to customize the filling’s aroma and taste.
Equipment & Tools
- 9×9 inch pan: To hold the crust and filling, shaping the bars.
- Mixing bowl: To combine the filling ingredients.
- Spatula: To spread and smooth layers evenly.
- Parchment paper: For easy removal and clean slicing.
- Hand mixer or whisk: To whip the cream and cream cheese smoothly.
Step-by-step guide to no-bake cheesecake bars
- Gather all equipment: a 9×9 inch pan, a mixing bowl, a spatula, and parchment paper for easy removal.
- Line the pan with parchment, leaving a slight overhang for easy lifting later.
- Crush your cookies: place them in a zip-top bag and crush with a rolling pin until fine. Measure about 1.5 cups of crumbs.
- Melt the butter gently in a small bowl in the microwave or on the stove until just liquefied. Mix it thoroughly with the cookie crumbs until evenly coated.
- Press the cookie mixture firmly into the bottom of the prepared pan, creating an even crust. Use the back of a spoon or your fingers. Chill in the fridge for 15 minutes to set.
- In a large bowl, beat the softened cream cheese with a hand mixer until smooth and fluffy, about 2 minutes. Scrape down sides as needed.
- Add sugar and lemon juice to the cream cheese. Mix until combined and smooth, about 1 minute.
- In a separate bowl, whip the heavy cream to soft peaks (about 3-4 minutes). Gently fold the whipped cream into the cream cheese mixture, maintaining as much fluff as possible.
- Pour the filling over the chilled crust. Use a spatula to spread evenly and smooth the surface.
- Optional: sprinkle with fresh berries or drizzle melted chocolate on top for decoration.
- Refrigerate the assembled bars for at least 4 hours, or ideally overnight, until firm and set.
- Once chilled, lift the bars out using the parchment overhang. Slice into squares with a sharp knife, wiping between cuts for clean edges.
- Serve cold, and enjoy the creamy, slightly tangy bites with a crisp crust underneath.
Chill the bars in the fridge for at least 4 hours or overnight until firm. Slice with a sharp knife, wiping clean between cuts. Serve directly from the fridge for best texture and flavor.
How to Know It’s Done
- The crust should be firm and hold together when pressed.
- The filling should jiggle slightly in the center but not be liquid.
- The top should look smooth and set, with no liquid or runny spots.
No-Bake Cheesecake Bars
Ingredients
Equipment
Method
- Line your 9x9 inch pan with parchment paper, leaving some overhang on the sides for easy removal later.
- Crush the graham crackers into fine crumbs using a food processor or by placing them in a zip-top bag and crushing with a rolling pin. Measure out about 1.5 cups of crumbs.
- Gently melt the butter until just liquefied, either in the microwave or on the stovetop, then mix it thoroughly with the graham cracker crumbs until evenly coated.
- Press the buttery crumbs firmly into the bottom of the prepared pan to form an even crust. Use the back of a spoon or your fingers to smooth it out. Chill in the fridge for about 15 minutes to set.
- In a large mixing bowl, beat the softened cream cheese with a hand mixer or whisk until smooth and fluffy, about 2 minutes. You’ll notice it becomes silky and light.
- Add the granulated sugar and fresh lemon juice to the cream cheese, then continue to beat until well combined and the mixture is smooth and slightly tangy.
- In a separate bowl, whip the chilled heavy cream to soft peaks, listening for a gentle swoosh and watching it turn fluffy and airy.
- Gently fold the whipped cream into the cream cheese mixture using a spatula, maintaining the airy texture and avoiding deflating the whipped cream.
- Pour the creamy filling over the chilled crust and spread it evenly with your spatula. Smooth the top for a clean finish.
- Optional: decorate the top with fresh berries or drizzle melted chocolate for extra flavor and visual appeal.
- Refrigerate the assembled bars for at least 4 hours, preferably overnight, until the filling is firm and set.
- Once set, lift the bars out using the parchment overhang, then slice into squares with a sharp knife. Wipe the knife clean between cuts for neat edges.
- Serve chilled, enjoying the rich, creamy texture with the crisp cookie crust and optional toppings for a delightful treat.
Pro tips for perfect bars
- Bolded mini-head: Chill the crust thoroughly before adding the filling to prevent sliding.
- Bolded mini-head: Gently fold whipped cream into the filling to keep it airy and light.
- Bolded mini-head: Use room temperature cream cheese for a silky, smooth texture without lumps.
- Bolded mini-head: Press the cookie mixture firmly into the pan for an even, sturdy base.
- Bolded mini-head: Don’t overmix the filling — stop once ingredients are just combined to avoid cracks.
- Bolded mini-head: Chill the assembled bars for at least 4 hours, or overnight, for optimal firmness and flavor meld.
- Bolded mini-head: Use a sharp knife warmed slightly to get clean, neat slices without squishing the layers.
Common mistakes and how to fix them
- FORGOT to chill the crust? Re-melt butter and press again to fix.
- DUMPED the filling? Add a bit more whipped cream and fold gently to recover.
- OVER-TORCHED the edges? Cover with foil and lower oven temp for a quick fix.
- MISSED the jiggle test? Chill longer or gently tap to check firmness.
Quick fixes and pantry swaps
- When the filling cracks, gently re-whip with a splash of cream to smooth.
- Splash a little lemon juice if the flavor feels dull or flat.
- Patch a soggy crust by sprinkling a thin layer of crushed cookies over the top, then chill.
- Shield the edges from over-torching by covering with foil if they brown too quickly.
- DUMPED the filling? Mix in a bit more whipped cream and fold gently to rescue the texture.
Prep, store, and reheat tips
- Preparing the crust and filling a day ahead makes assembly quicker and keeps everything fresh. Keep covered in the fridge for up to 24 hours, ensuring the creamy texture stays intact.
- Store the assembled cheesecake bars in an airtight container or tightly wrapped in plastic wrap. They keep well in the fridge for up to 3 days—expect the crust to soften slightly over time.
- For longer storage, freeze the bars for up to a month. Wrap tightly in plastic wrap and foil. Thaw in the fridge overnight before serving, noting the texture will be slightly softer.
- Reheating isn’t needed, but if you prefer slightly softer, let the bars sit at room temperature for 10-15 minutes. The creamy filling will become more luscious and less chilled, with a gentle aroma of vanilla and lemon.
Top questions about no bake cheesecake bars
1. How do I prevent lumps in the filling?
Use softened cream cheese to avoid lumps. It makes the filling silky and smooth when mixed well.
2. How long should I chill the cheesecake bars?
Chill the bars for at least 4 hours or overnight. This helps them set properly and enhances flavor.
3. Can I make these dairy-free?
Replace heavy cream with coconut cream or Greek yogurt for a dairy-free or tangy variation. Expect slight texture changes.
4. What can I use instead of graham crackers?
Use store-bought cookie crumbs or crush your own cookies with a rolling pin for a rustic crust. Adjust butter quantity if greasy.
5. What toppings work well?
Add fresh berries, chocolate drizzle, or caramel for extra flavor and visual appeal on top of the set bars.
6. My crust is soft and crumbly, what do I do?
If the crust feels too soft, press it firmly again and chill for 15 minutes before adding the filling.
7. How do I get clean slices?
Use a sharp, warmed knife to cut clean slices. Wipe the blade between cuts for neat edges.
8. My cheesecake cracked after setting, how do I fix it?
If the filling cracks when you cut, re-whip with a splash of cream or gently press to smooth edges.
9. How should I store leftover bars?
Store leftovers in an airtight container in the fridge for up to 3 days, or freeze for longer storage.
10. Should I serve the bars cold or at room temp?
When serving, let the bars sit at room temperature for 10 minutes for a softer, more luscious bite.
These no-bake cheesecake bars are a reminder that sometimes the simplest desserts can be the most satisfying. Their creamy, tangy bite and crispy crust are a perfect combo, especially when made ahead and chilled to perfection. They’re a little celebration of how easy good dessert can be without the fuss.
Whenever I need a quick treat that feels special, I turn to this recipe. It’s honest, reliable, and always hits the spot when I want something sweet and cool without turning on the oven. No matter the season, they make the kitchen smell like a little bit of summer—sweet, bright, and just right.

Hi, I’m Madison Lane, the cook, recipe creator, and heart behind this kitchen. Food has been part of my life for as long as I can remember. Some of my earliest memories are of standing beside my dad while he cooked, watching him move comfortably around the kitchen, tasting sauces, and explaining why patience mattered just as much as seasoning.
