Place graham crackers in a zip-top bag and crush them into fine crumbs using a rolling pin or the back of a spoon.
Mix the crushed graham crackers with melted butter and a pinch of salt until evenly coated and crumbly.
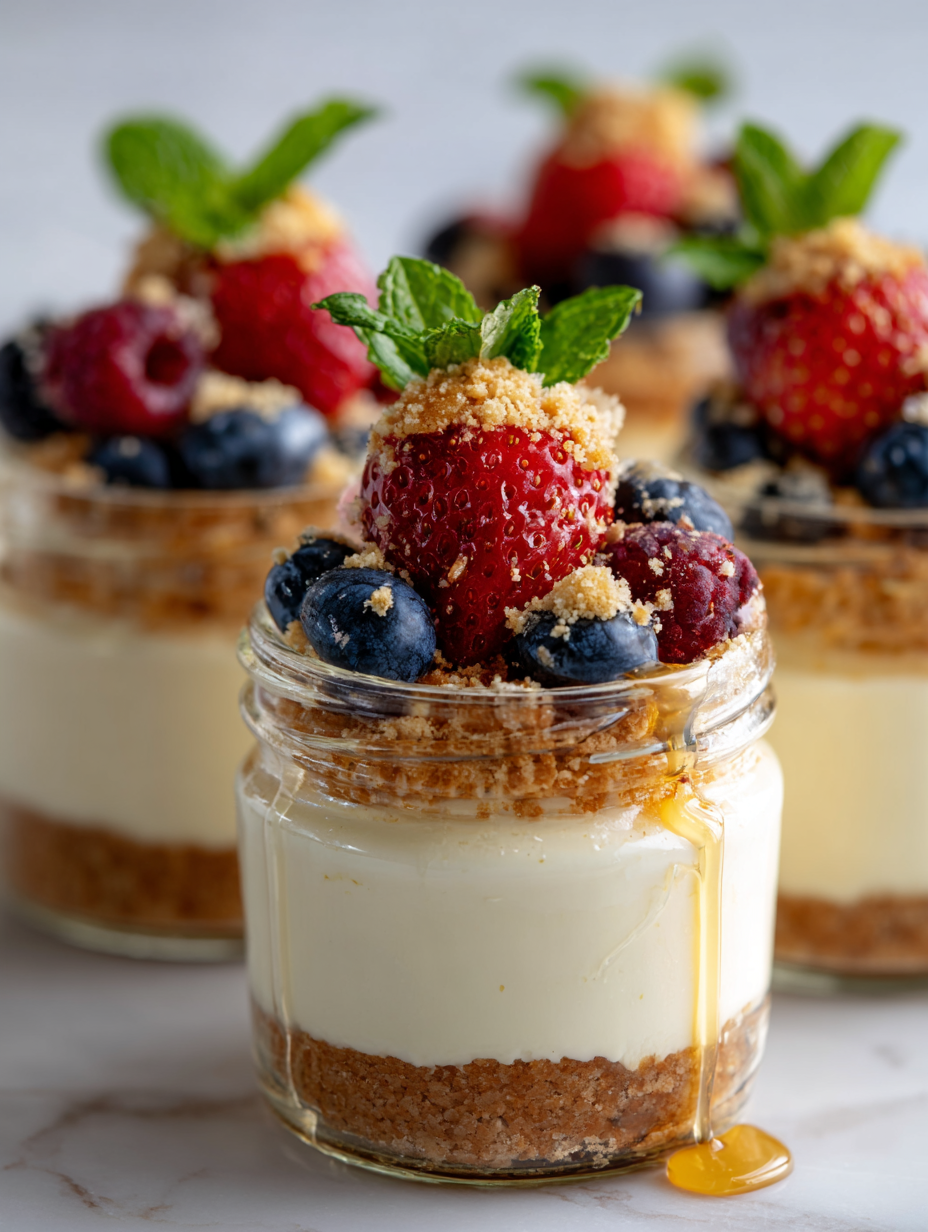
Spoon about 2 tablespoons of the crumb mixture into the bottom of each jar, pressing down firmly to form a solid crust.
Refrigerate the jars for 10 minutes to set the crust while you prepare the filling.
In a mixing bowl, beat the softened cream cheese with sugar until smooth, creamy, and slightly fluffy—about 2 minutes.
Add vanilla extract and lemon juice to the cream cheese mixture, stirring until well incorporated and fragrant.
In a separate bowl, whip the chilled heavy cream until soft peaks form, about 2-3 minutes.
Gently fold the whipped cream into the cream cheese mixture until smooth and airy, being careful not to deflate the cream.
Spoon or pipe the creamy filling over the chilled crust in each jar, filling almost to the top.
Cover the jars with lids or plastic wrap and refrigerate for at least 2 hours or overnight to allow the filling to set fully.
Before serving, garnish each jar with fresh berries or your favorite toppings for a colorful, inviting look.