Ingredients
Equipment
Method
- Line your 20cm (8-inch) square pan with parchment paper, leaving some overhang for easy removal.
- Chop the dark chocolate into small pieces and melt it gently in a heatproof bowl set over a saucepan of simmering water, stirring until smooth and glossy. This creates a fragrant, melted chocolate base.
- In a dry skillet, toast the mixed nuts over medium heat for about 5 minutes until they become fragrant and lightly golden; then, let them cool slightly.
- Pour the melted chocolate into a large mixing bowl. Add the honey, butter, and vanilla extract, then stir until everything is well combined and shiny.
- Stir in the toasted nuts, mixing thoroughly so they are evenly coated with the chocolate mixture.
- Pour the mixture into your prepared pan, then press down firmly with a spatula or the back of a spoon to create an even, compact layer. This helps the slice hold together nicely.
- Place the pan in the refrigerator and chill for at least 2 hours until the slice is firm and set. If you're in a hurry, pop it in the freezer for about an hour, but check frequently to prevent over-hardening.
- Once set, lift the slice out of the pan using the parchment overhang and transfer to a cutting board. Use a sharp knife to cut into squares or rectangles.
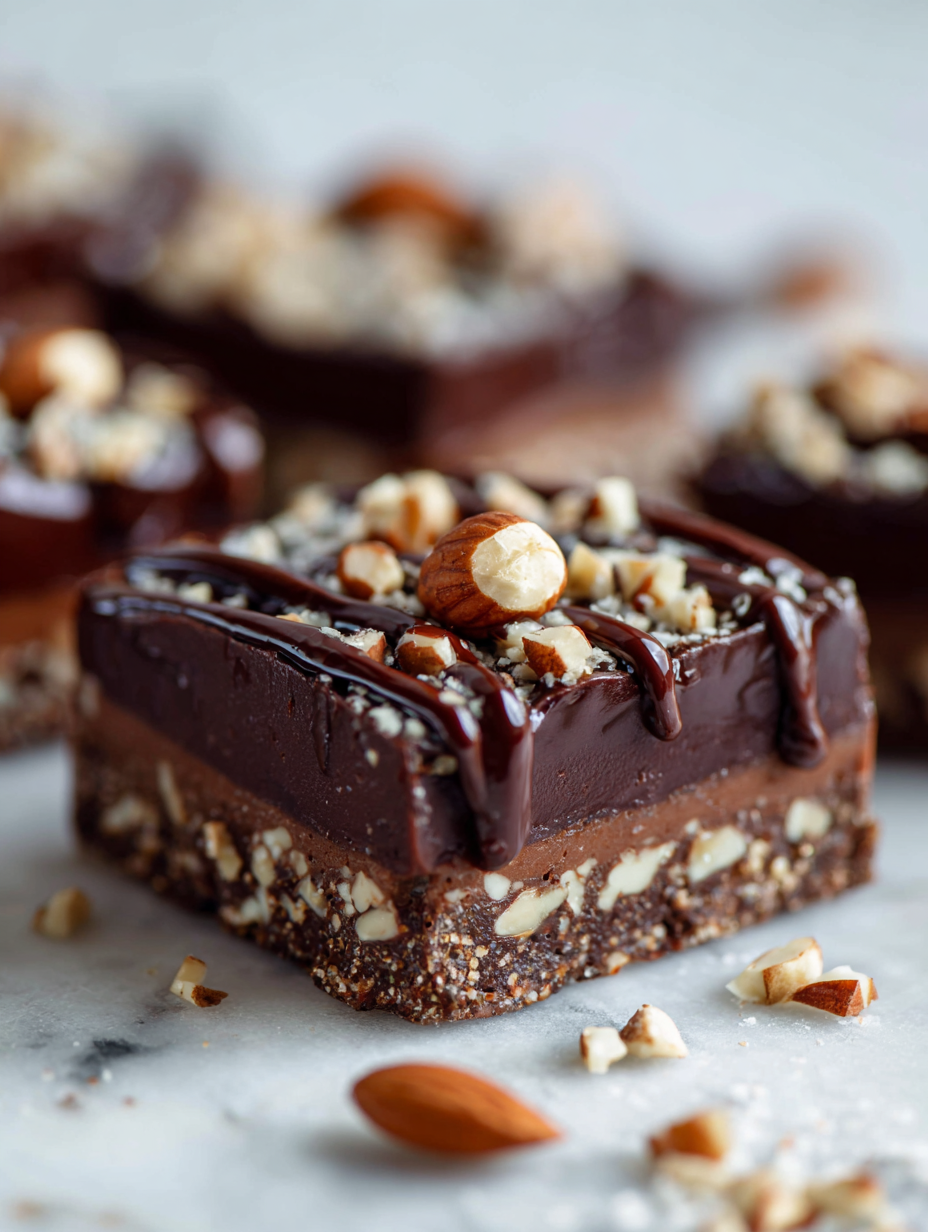
- Serve immediately or store in an airtight container in the fridge. The chocolate will be glossy and the nuts crunchy, making each bite satisfyingly rich and nostalgic.
Notes
For a dairy-free version, substitute butter with coconut oil and choose dairy-free chocolate. Toasting nuts enhances their flavor, so don't skip this step. Chill thoroughly for clean cuts and optimal texture.